Remnant 2: How to complete The Lament to earn the Red Widow armor and Lodestone Crown
Remnant 2 Guides
- Remnant 2: How to earn a crossbow in Imperial Gardens
- Remnant 2: Get the Leto armor and Chicago Typewriter
- Grab a secret weapon at the start of Remnant 2
- Every class in Remnant 2 (and how to unlock them)
- More Remnant Guides
Remnant 2 is turning out to be my favorite game of the year thus far. Dark Souls meets guns? Sign me right up. Mix in a blend of unique and challenging puzzles, and you've got yourself a recipe for success.
Remnant 2 takes place in a world where humanity has collapsed in on itself. Experiments with trans-dimensional gateways led to nasty creatures invading earth, and the survivors carve out a grim existence, traversing other worlds for resources and answers. The game is filled with loot, bosses, and class builds of all types, and navigating the game's vast content spread can be tough. That's why we're on-hand with our Remnant 2 guides to help you get going.
In this guide, I'll show you how to get your hands on the Red Widow armor set and the Lodestone Crown helmet, along with the enemies you'll face and how to beat The Lament.
Enemies
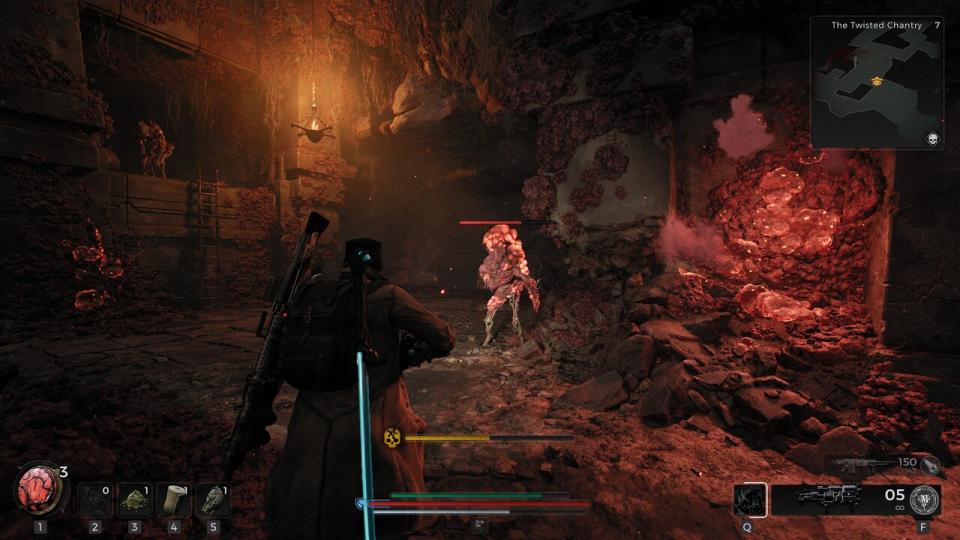
Root Zombie: Walking targets as far as I'm concerned. The one concern they bring is their randomness. They'll spawn in front of you as often as they will behind you during a fight, potentially overwhelming you in numbers. Stay consistent in taking this out ASAP.
Root Wart: These guys have slightly more health but can be taken out either from a distance or a well-timed dodge. As they'll dive to explode on you, but you'll have a decent moment to dodge out of the way.
Root Shaman: If there's a shaman in the mix, kill it immediately. These guys will resurrect the Root Zombies indefinitely until they're down. I found this out the hard way when a Shaman was stuck underneath the floor...

This is my favorite area of Yaesha, filled with neat puzzles and turns that kept me occupied long after I thought I was done.
When entering, grab the checkpoint. Take a few more steps forward; you'll see something resembling a labyrinth. Be careful, as a pressure plate on the ground will trigger a mechanism that starts shooting deadly arrows down the hallway.
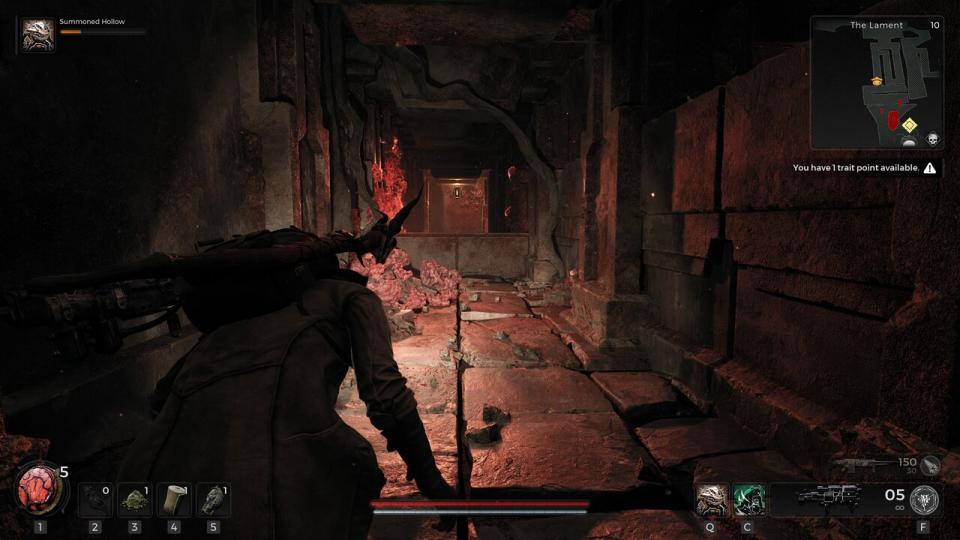
You'll see these arrows fire from the left side, followed by the right. Yes, you'll have to make it to the end of the hallway. You can do this by either alternating side-to-side or taking the easy route. Staying crouched will cause the shots to miss, no matter what. Even after triggering more pressure plates, which changes the pattern.
Another hallway follows, requiring you to remain crouched. So, if you didn't use the trick the first time, now you have to. Make your way down before coming to this puzzle's third and last portion. This time, arrows are also shooting from above. Time your jumps over the ledge and reach the lever on the other side. This will deactivate the trap and open the walls to give you some space.
Red Widow Armor Set
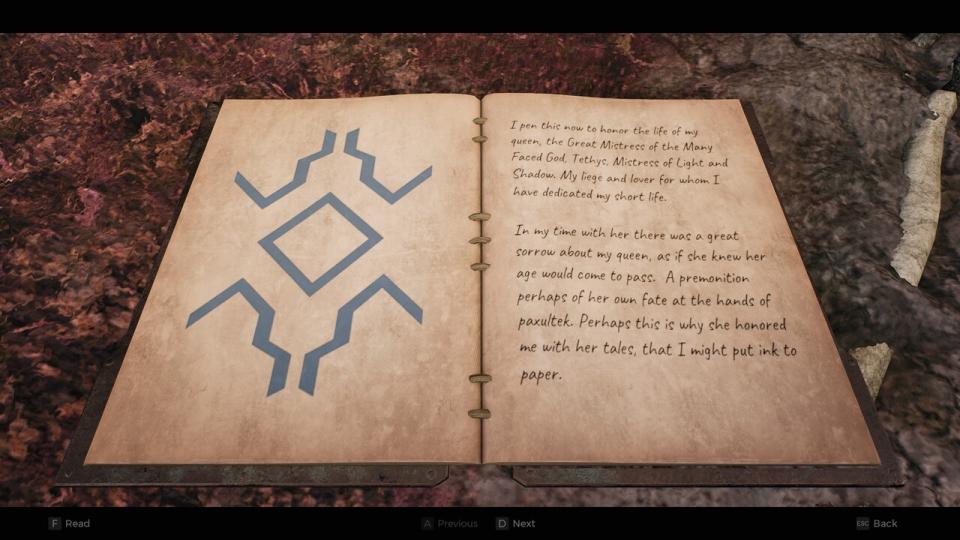
Now enter the next room. You'll notice a plethora of sarcophaguses placed around the room with a piece of cloth thrown over the top. There's a small drop-down with a book at the bottom. Open the book to reveal a symbol inside. This symbol corresponds to some of the coffins you saw. Match the symbol to those near you, as well as above you. Reach the caskets up top by returning to the arrow room and jumping onto the ledge.
Make a note of the symbols above the coffins. There will be four unique symbols that you'll need to remember. Once you've found all four, walk up top again if you're not already there, and you'll see a dial on the floor. Inspect it and enter the four symbols in any order to unlock the door ahead.
You'll begin walking down a set of stairs, with a checkpoint ahead. Grab the checkpoint first! This is important; don't touch anything else. Head to the back of the room with the checkpoint to grab the Blood Tinged Ring; it's perfect for bleed-based builds. Once you do, turn back around to the room with coffins.

Opening the sarcophagus on the side of the room causes an enemy to spawn, kill the airborne foe that comes out, or do damage until it buries itself. After tunneling, it will reemerge as a mini boss. Kill it by backpedaling down the hallway you came through initially, dropping your weapon mods and abilities as you see.
It'll try and take a few swipes, merely evade them and continue back if it gets too close. Once destroyed, you'll receive the Overdrive Mutator and a quest object called Kolket's Razor that you'll need for a section later. Head back to the checkpoint room, and in the corner are a set of vases. Smash them, and you'll discover a hole you can drop down.
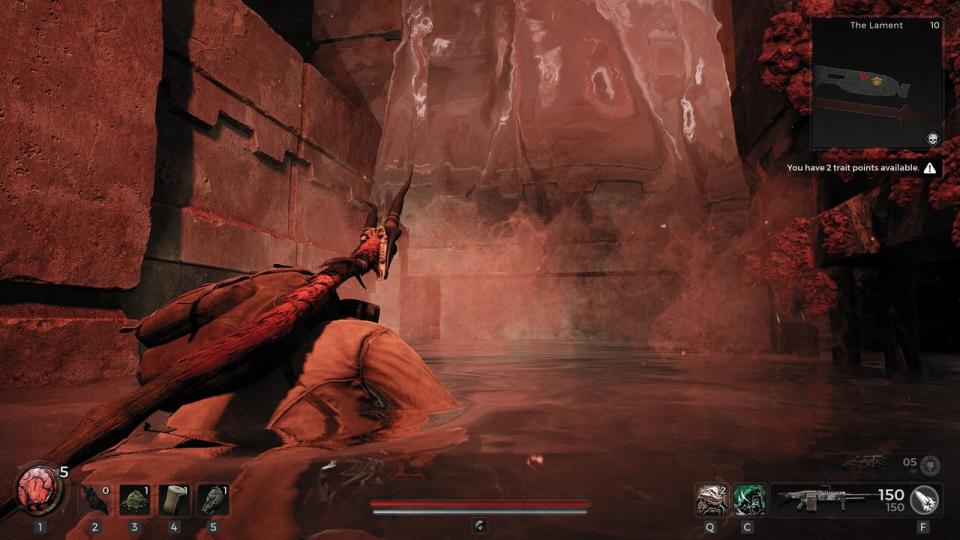
Once you're at the base, you'll drop into a short river-like pool. Instead of climbing the prominent ledge in front of you, turn to the side and step around the corner and crouch underneath a small waterfall. Head down the hallway until you can pick up the Supply Room Key.

Now head back to the ledge we saw earlier, jump up, and head to the hallway. You'll see a ladder you can use to get back up, either climb up and open a shortcut back to the checkpoint or wait; it doesn't matter. Whatever you decide, you can open the door at the end of the hall with the Supply Room Key. You'll find a chest with scrap, relic fragments, and upgrade materials.
In the room, you'll see a ramp leading up to a hole in the wall and out the other end. Follow it and you'll come across a strange-looking path that, once triggered by another floor mechanism, turns into an Indiana Jones nightmare straight out of the Last Crusade.
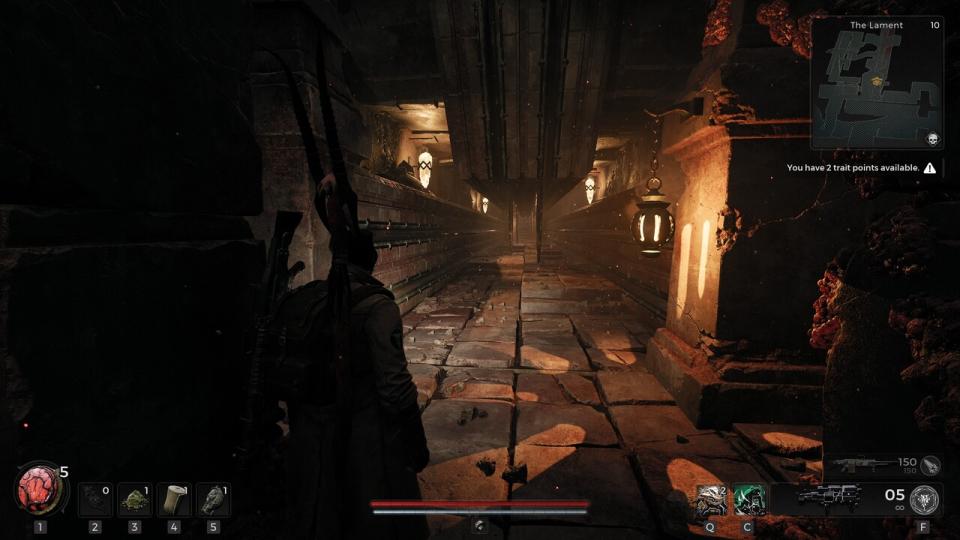
For me, it was easiest to immediately follow one of the center blades while keeping pace, dodging to the other side halfway down as I approached the second set of center blades. I repeated this step until I arrived at the end, deactivating the traps behind me.
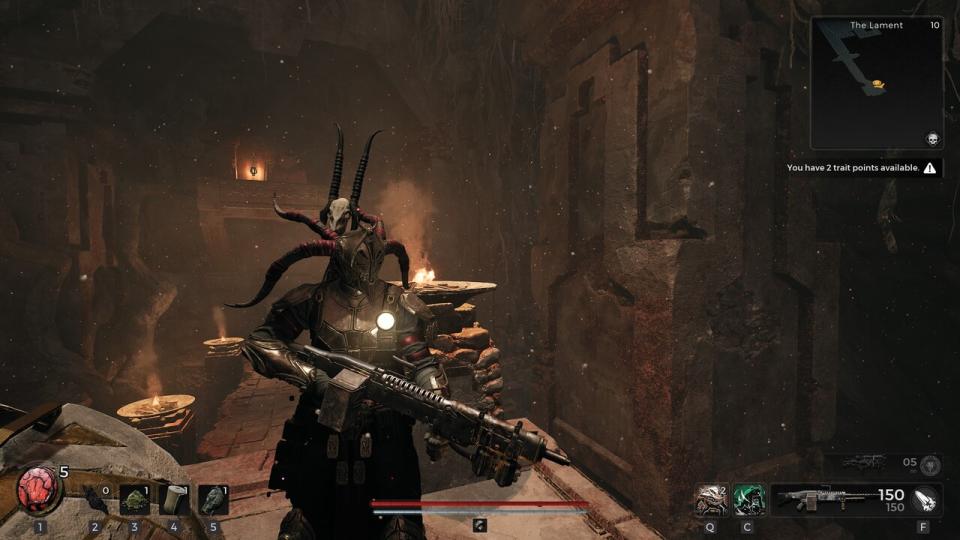
Continue to a giant casket ahead of you; open it up. Enjoy your newly acquired Red Widow set!
Lodestone Crown
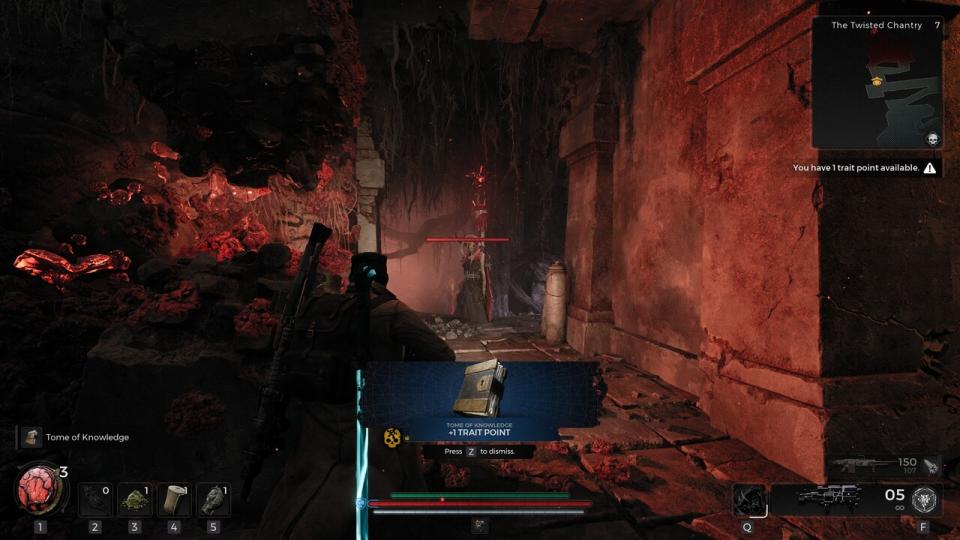
Now let's head back toward the room with the arrow trap. On the side of the room, you'll find a path leading out and down to a Tome of Knowledge and a set of floating platforms. Jump across these platforms; just make sure to plan your every move.
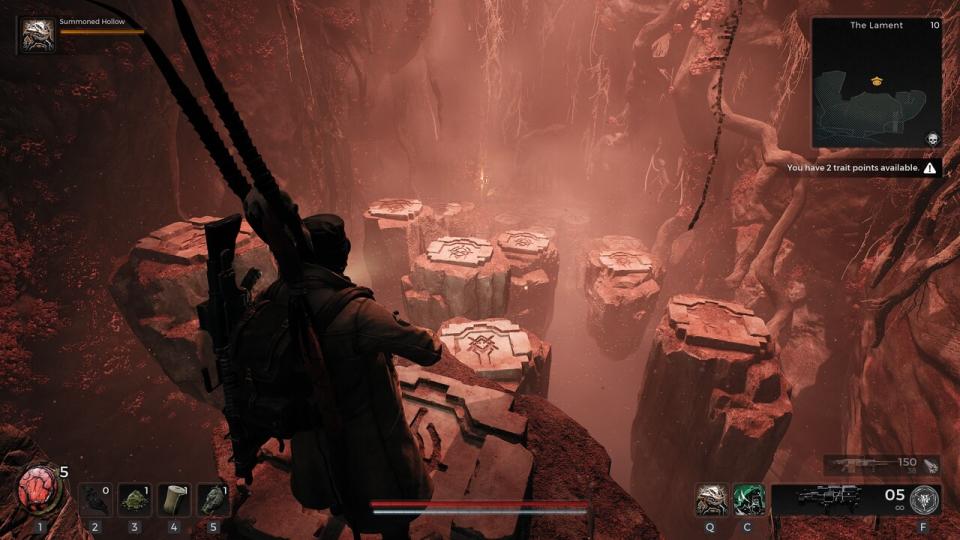
Once you're at the bottom, inspect Kolket's Razor from earlier. Turn it to face the base and interact with it; this causes it to turn into Kolket's Key. Use the key on the door at the bottom of the platform puzzle to open it.
Inside you'll find the Ring of Diversion, which increases your invulnerability window while rolling or sliding, and a chest filled with goodies.

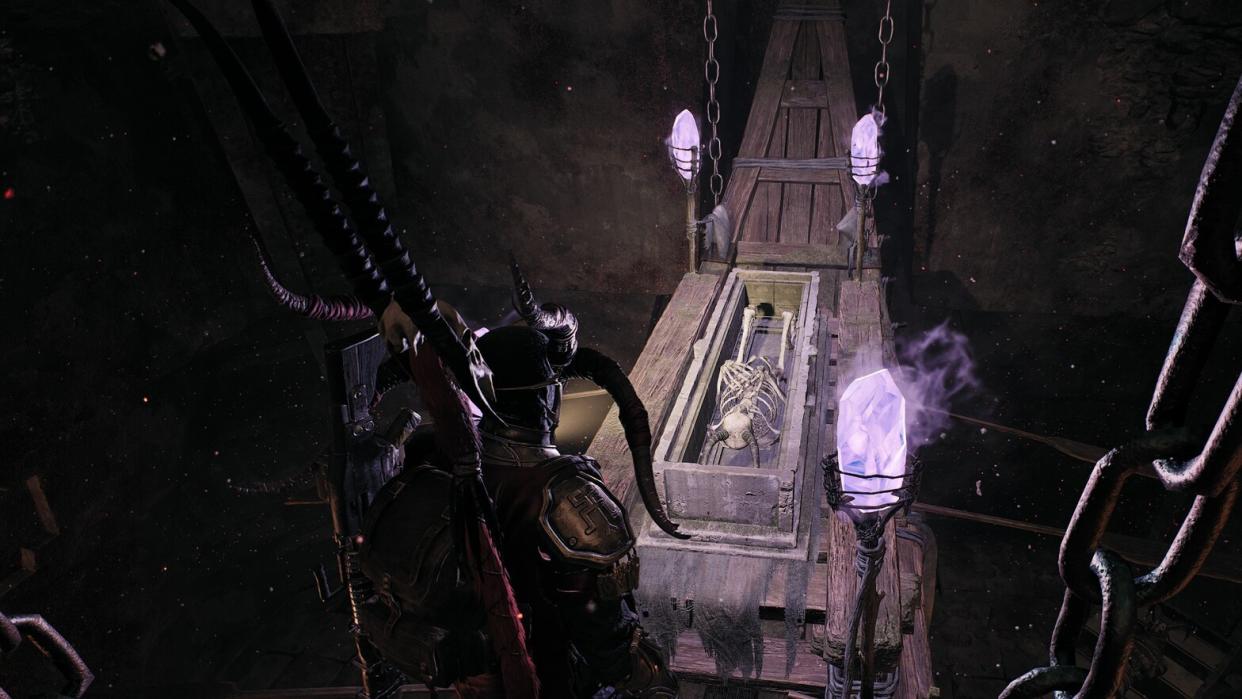
Above you, you'll notice a longship with radiant purple lights. To get there, face the door going back out of the room; to the right is an illusionary wall. Pass through it and follow the path up. Drop down on the ship to obtain another headpiece, the Lodestone Crown. A helmet that acts as a luminous device casting its light around the user.
That's it! You've finished the Lament section.


